
Categories
Featured



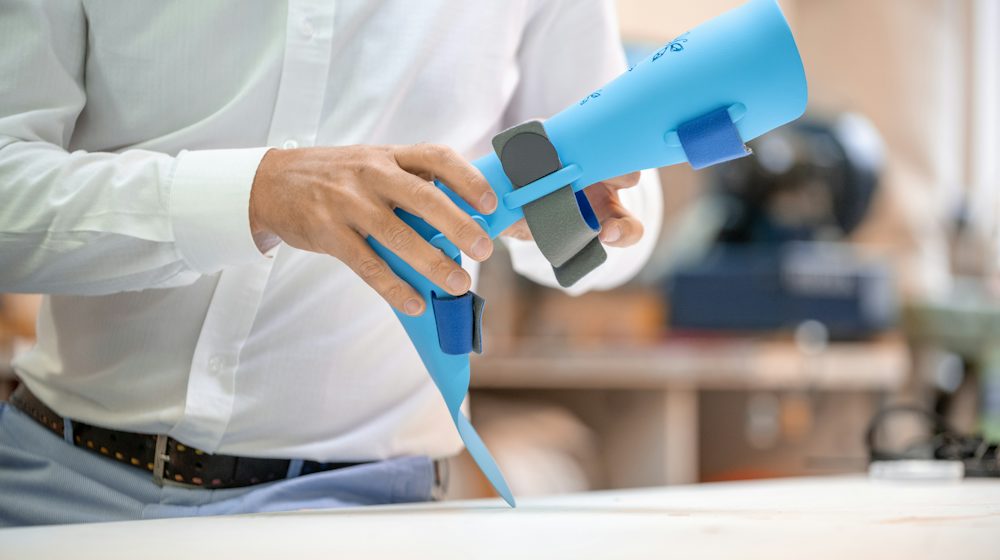
Plastic welding is one of the strongest and most cost-effective ways to repair cracked bumpers, tanks, headlight tabs, kayaks, bins and countless other plastic parts. Done properly, a welded repair is as strong as – or stronger than – the original material. This guide walks you through a typical repair using a hot air plastic welder and welding rods.
What you'll need
- Hot air plastic welder (or hot air gun with temperature control) with a tacking nozzle and speed welding tip
- Plastic welding rods matching your material (PP, PE, ABS, PA, PC, PP/EPDM…)
- Rotary tool or scraper for V-grooving
- Drill with a 3 mm bit
- Sandpaper (80, 120, 240 grit), degreaser or isopropyl alcohol
- Clamps or aluminium tape to hold the parts aligned
- Optional: stainless steel reinforcing mesh
- Safety glasses, heat-resistant gloves and good ventilation
Step 1 – Identify the plastic
You can only weld like to like. Check the >CODE< stamped on the part (e.g. >PP/EPDM<, >ABS<, >PA6<). If there isn't one, use the tests described in our article How to Identify Plastic Types – or simply do a test weld with a few different rods on a hidden area.
Step 2 – Clean the area
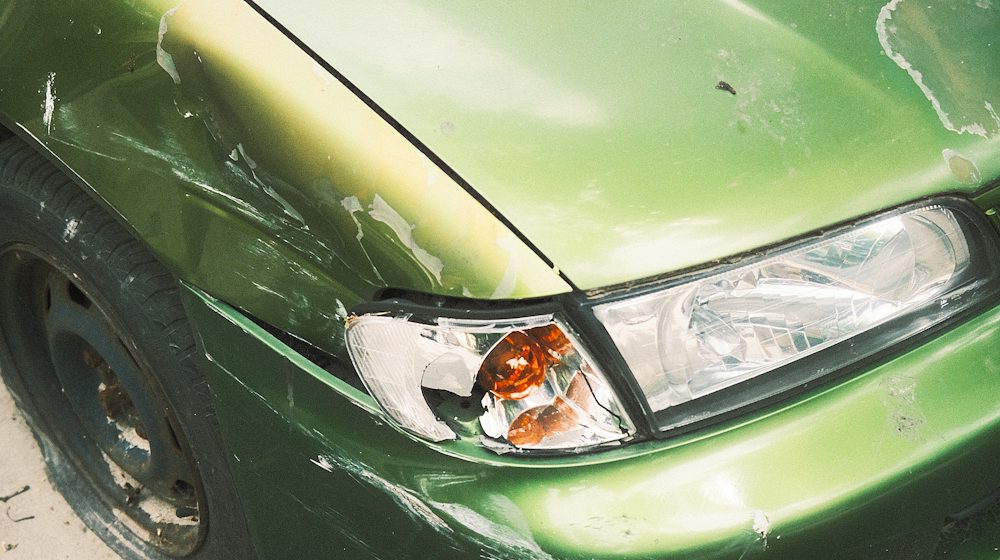
Wash the part with soapy water, then degrease with isopropyl alcohol or a plastic cleaner. Remove all paint, primer and coatings for about 2–3 cm on each side of the crack – paint contaminates the weld and stops the rod from fusing. Sand with 80 grit to get fresh, clean plastic.
Step 3 – Stop the crack
Drill a small hole (about 3 mm) at each end of the crack. This relieves stress and stops the crack from spreading further while you work and after the repair.
Step 4 – Align and tack the crack
Line up both sides of the crack perfectly, using clamps or aluminium tape on the outside. Using the tacking nozzle, run along the crack from the inside so the two edges fuse together lightly. This holds the shape while you weld.
Step 5 – Cut a V-groove
On the side you're going to weld, cut a V-shaped groove along the crack, about two-thirds of the material thickness deep and around 60–90° wide. The groove gives the rod room to fuse into the base material and creates a much stronger joint than welding on a flat surface. For thick parts, groove and weld both sides.
Step 6 – Set the temperature
Temperatures depend on your welder, nozzle and air flow, so always do a quick test on scrap first. As a starting point (air temperature at the nozzle):
| Plastic | Approx. temperature |
|---|---|
| PE (HDPE / LDPE) | 270–300 °C |
| PP, PP/EPDM | 280–320 °C |
| ABS | 300–350 °C |
| PC, PC/PBT | 330–370 °C |
| PA (nylon) | 350–400 °C |
Step 7 – Weld with the rod
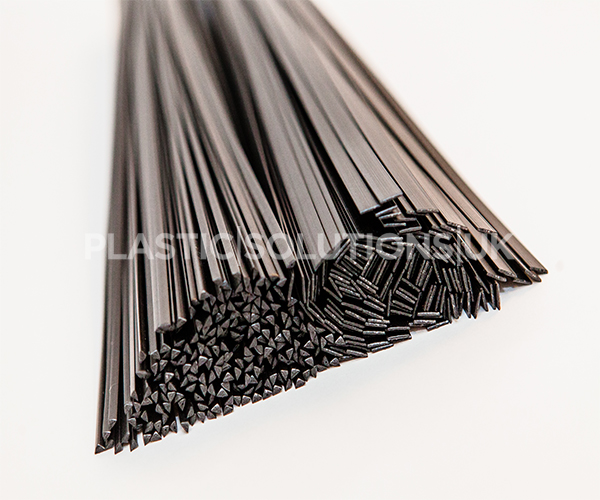
Cut the end of the rod at an angle, feed it into the speed tip (or hold it by hand in front of the nozzle) and place it at the start of the V-groove. Then:
- Heat the rod and the base material at the same time.
- Press the rod down firmly into the groove – with hand welding, keep the rod roughly at 90° to the surface; with a speed tip, let the shoe guide it.
- Move steadily along the groove. A good weld shows a small wave of molten plastic on both sides of the rod.
- Lay additional beads side by side until the groove is slightly overfilled.
Step 8 – Reinforce (optional)
For parts under stress (bumper mounts, tabs, brackets), melt a piece of stainless steel mesh into the back of the repair with the hot air nozzle or a hot staple tool, then cover it with a layer of rod.
Step 9 – Let it cool naturally
Allow the weld to cool to room temperature on its own. Don't use water or compressed air – rapid cooling creates internal stress and can crack the weld.
Step 10 – Finish the repair
Trim the excess with a sharp blade, then sand smooth with 120 and 240 grit. For painted parts, apply adhesion promoter (especially on PP), filler if needed, primer and paint.
Common mistakes to avoid
- Using the wrong rod – always match the material.
- Skipping cleaning or leaving paint in the weld area.
- Welding on a flat surface without a V-groove.
- Not enough pressure on the rod – it looks welded but peels off.
- Overheating – brown, burnt or bubbly plastic is weak plastic.
Ready to start?
PP, PE, ABS, PA, PC, PP/EPDM rods and mixed starter sets – shipped fast across the UK. Not sure which rod you need? Email sales@plasticsolutionsuk.com.
Shop welding rods Starter kitsPhotos: Plastic Solutions UK and Unsplash.
There are no products to list in this category.


